Installing Git
- Print
- PDF
Installing Git
- Print
- PDF
Article Summary
Share feedback
Thanks for sharing your feedback!
Installing Git
Installing Git is easy. You may already have it on your system. To check, open a terminal and run `git --version`
// Windows CMD
C:\Users\Daniel>git --version
git version 2.36.0.windows.1

// Windows Powershell
PS C:\Users\Daniel> git --version
git version 2.36.0.windows.1

// Git Bash
$ git --version
git version 2.36.0.windows.1
You can always follow the official installation documentation if you want to learn more, or to build from source.
Installing git on Windows
You can download git for windows from one of the following locations:
https://git-scm.com/download/win and click on “Click here to download”
https://gitforwindows.org/ and click on the download button for the latest stable release
Almost all newer machines these days use the 64-bit version of Windows so you’re pretty safe if you attempt to install that one. If you’re not sure, or just curious, you can see which version of Windows you have.
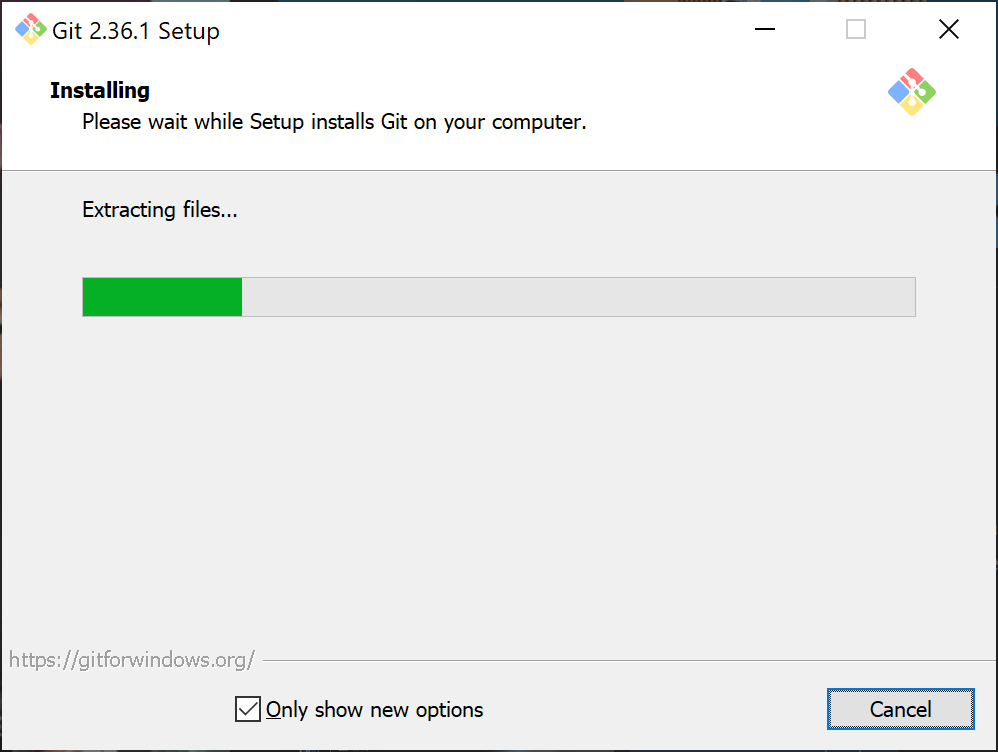
Run the installer. You should see something similar.

It will take a minute or three.
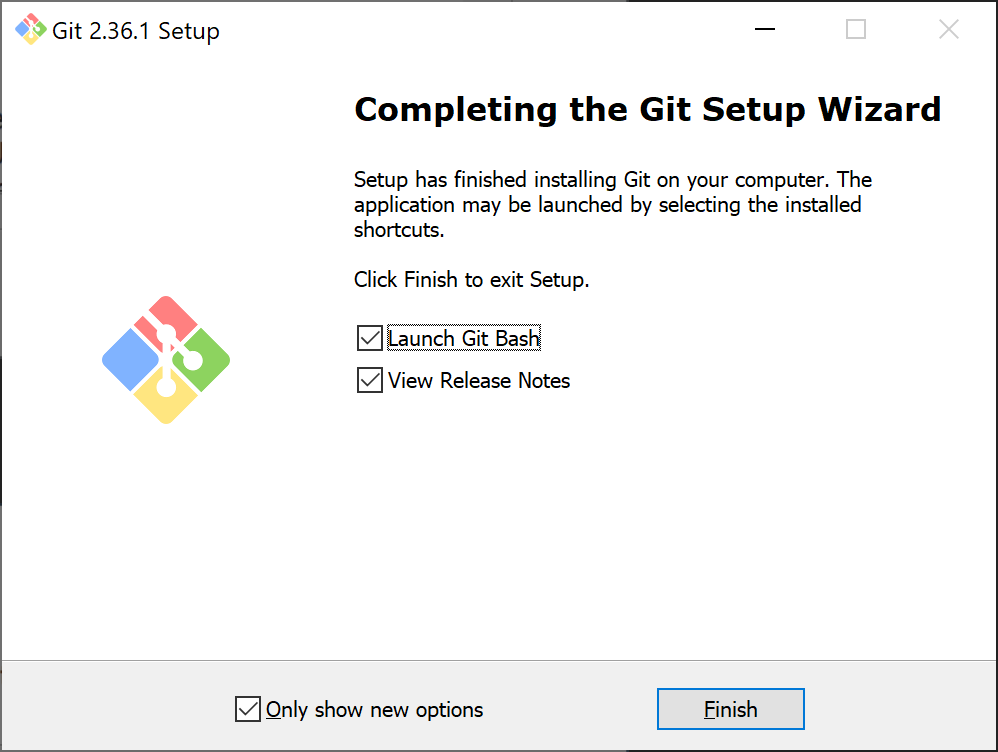
The current installer’s final screen
We recommend selecting “Launch Git Bash” to see if the installation works correctly.
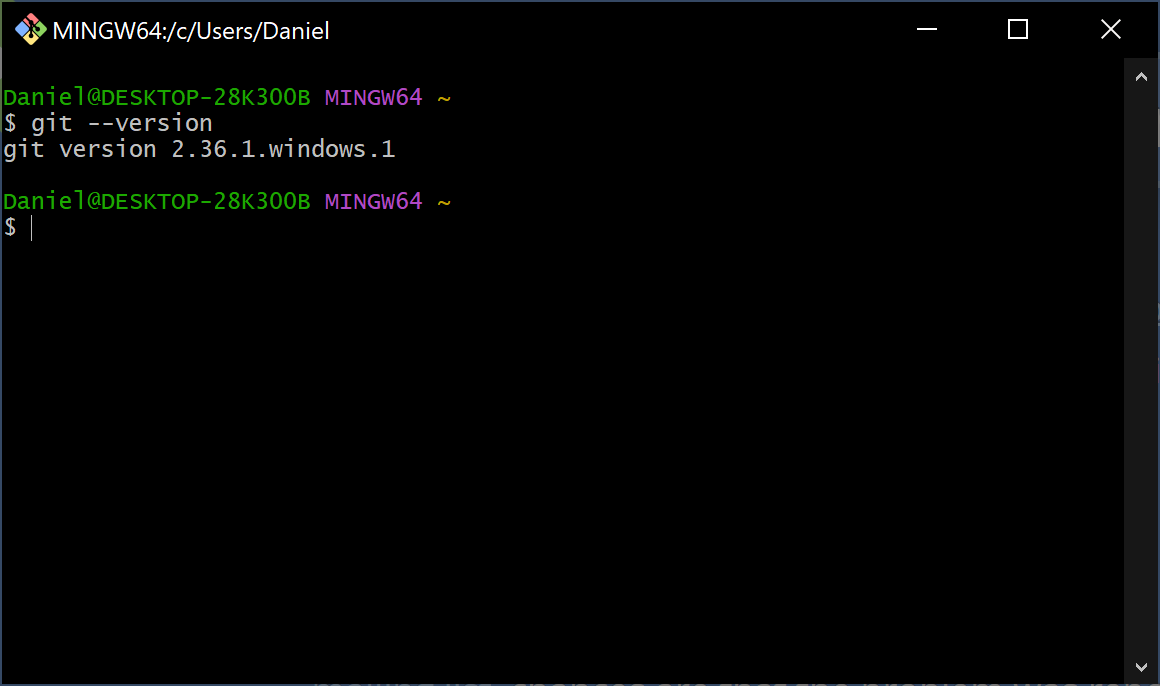
Run git --version in a terminal like git-bash to verify the install.
You can run git from cmd.exe, powershell, a third party terminal app, or using the provided git bash shell.
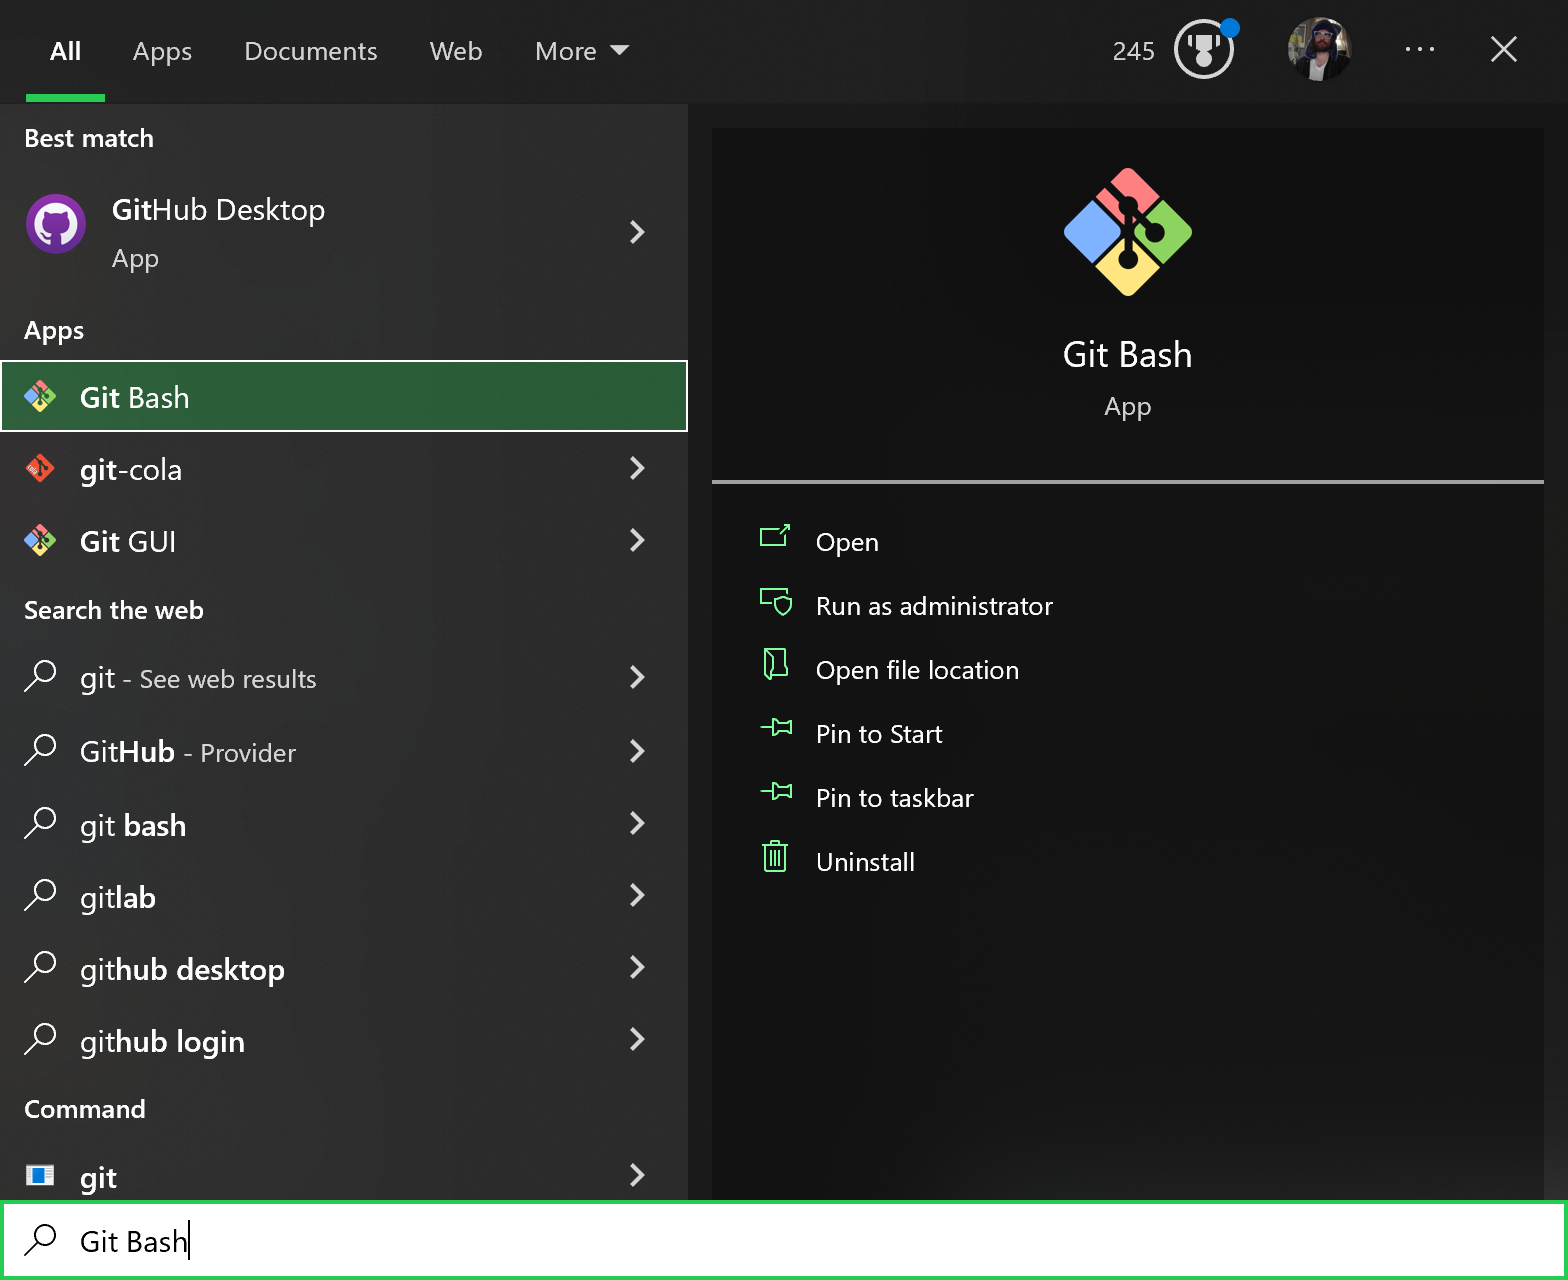
"C:\Program Files\Git\git-bash.exe" --cd-to-homeThe installer also creates a shortcut in your start menu.
You can also install git using the chocolatey package manager for Windows, keeping in mind that the package is maintained by the community.
choco install gitInstalling git on MacOS
There are several ways to install Git on a Mac. The easiest is probably to install the Xcode Command Line Tools. On Mavericks (10.9) or above you can do this simply by trying to run git from the Terminal the very first time.
// If git isn't installed, the shell should prompt you to install it.
$ git --version
If you want a more up to date version, you can also install it via a binary installer. A macOS Git installer is maintained and available for download at the Git website.
Installing git on Linux
The easiest way to install git on Linux is using the package manager for your Linux distro.
If you’re on Fedora (or any closely-related RPM-based distribution, such as RHEL or CentOS), you can use dnf:
$ sudo dnf install git-allIf you’re on a Debian-based distribution, such as Ubuntu, try apt:
$ sudo apt install git-allFor more options, there are instructions for installing on several different Unix distributions on the Git website, at https://git-scm.com/download/linux.
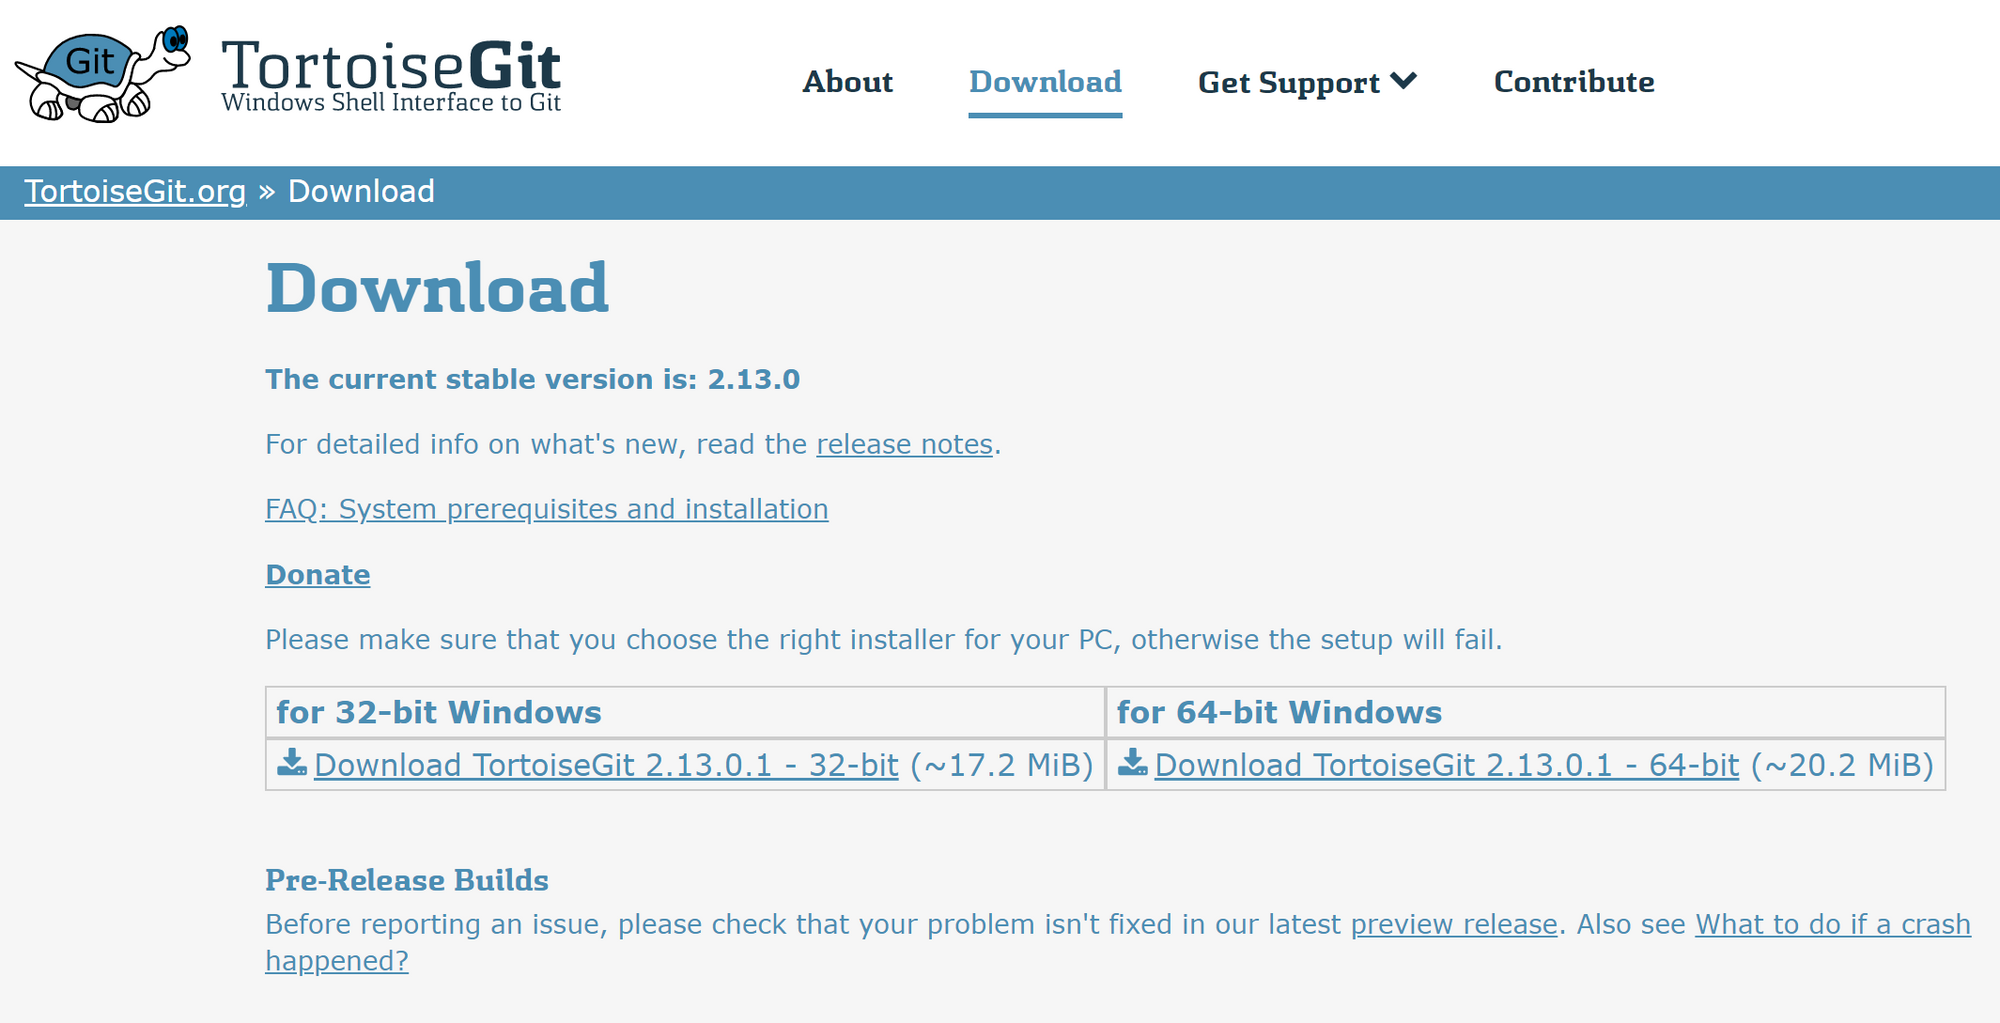
Installing TortoiseGit
Before installing TortoiseGit, make sure you have the command line git client installed (above).
To install TortoiseGit navigate to the download page and select the installer that matches your Windows version. Almost all newer machines these days use the 64-bit version of Windows so you’re pretty safe if you attempt to install that one. Click on the link and download the installer:
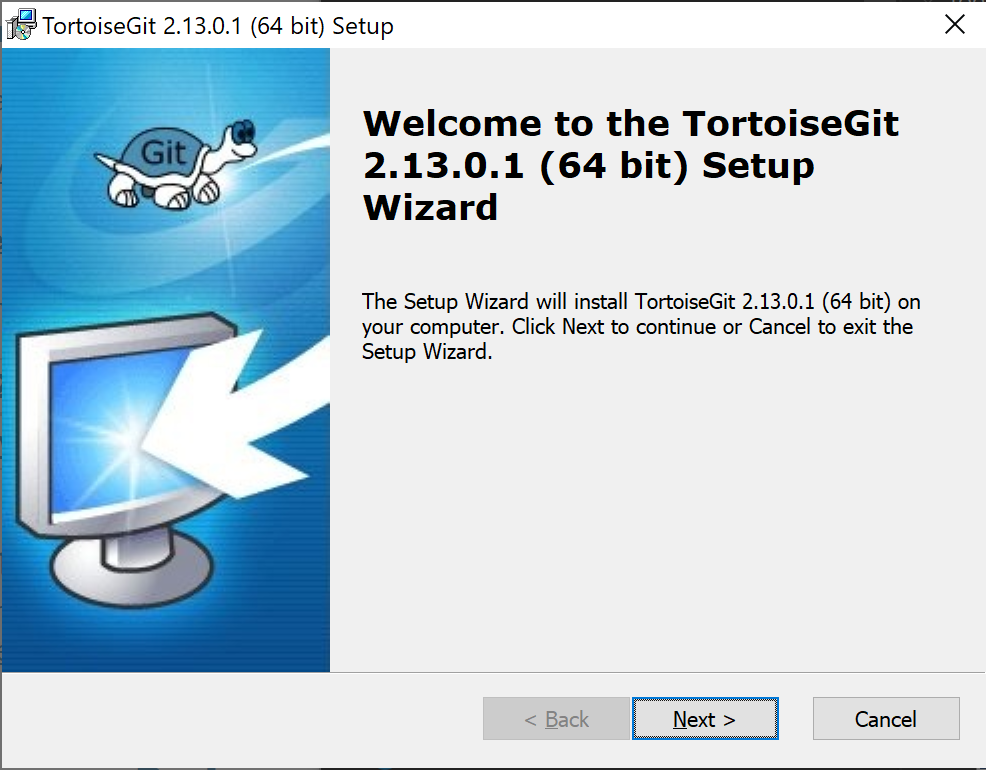
After the installer has been downloaded, open it up and install the software using all the default settings by clicking “Next” at each prompt until you complete the installation.
For more information on how to install TortoiseGit see their Installation Help Document for more details.
TortoiseGit Install Wizard
Click Next to start the setup wizard.
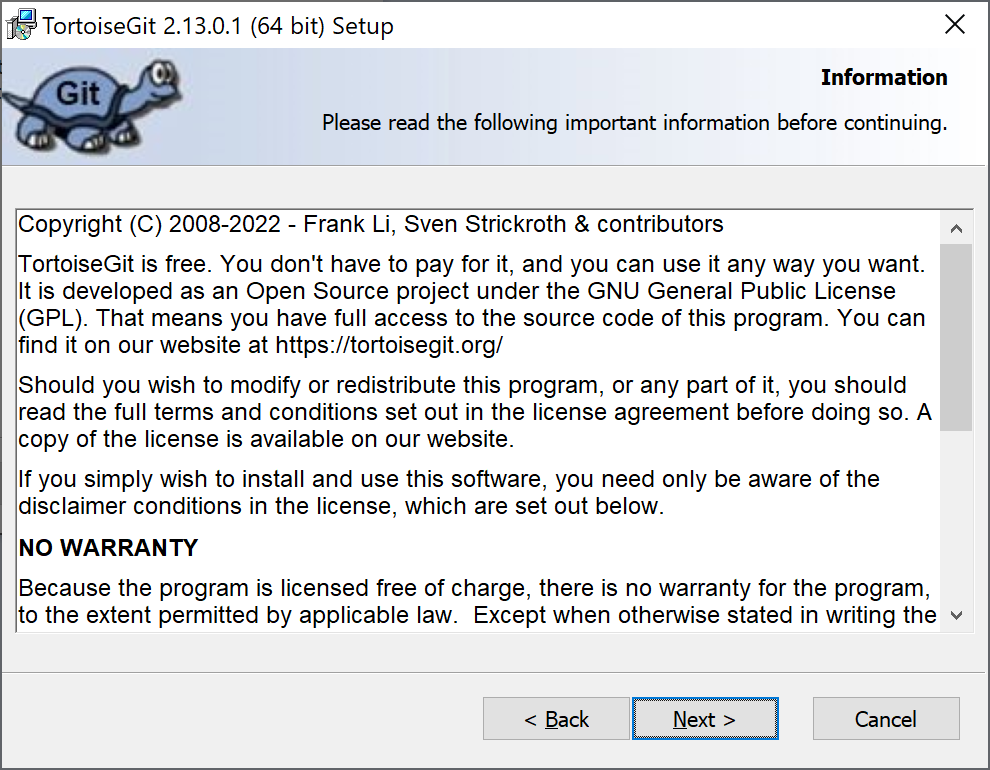
Read and accept the user license.
Click Next to accept the default features.

Click Install to continue.
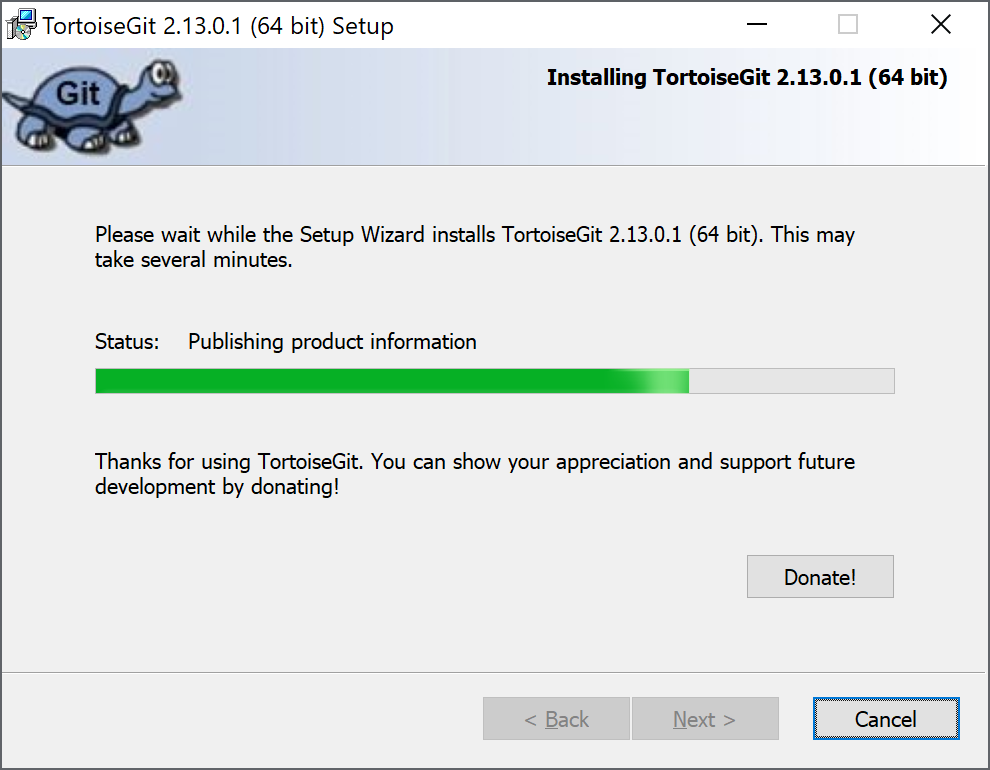
Wait while the program is installed.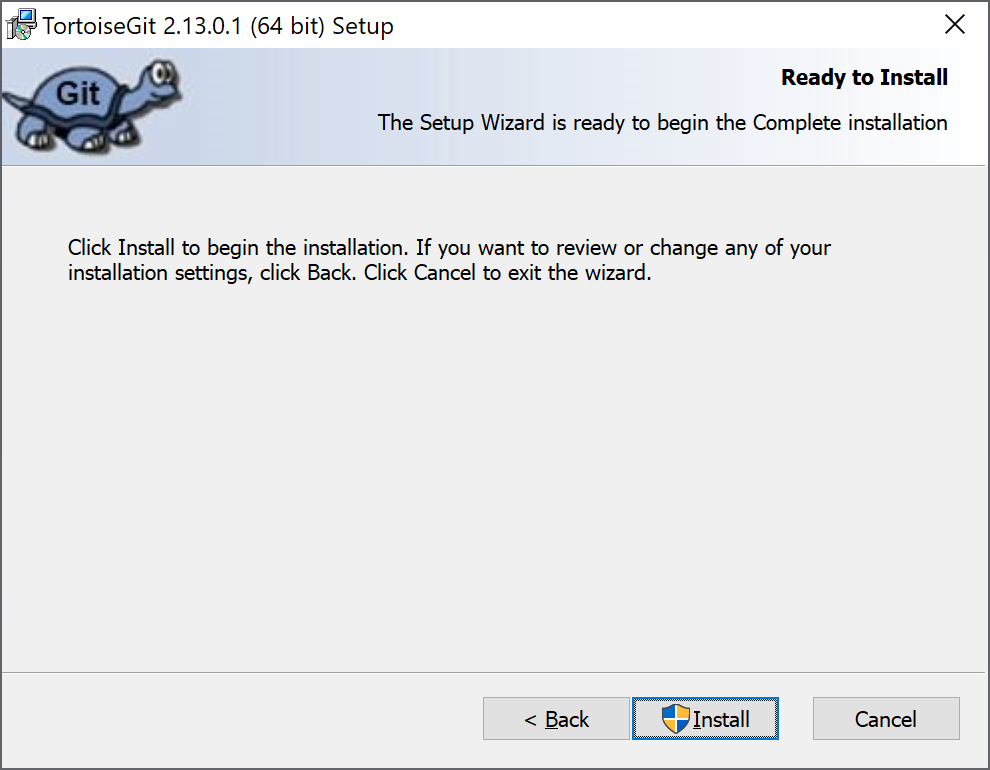
Wait while the program is installed.
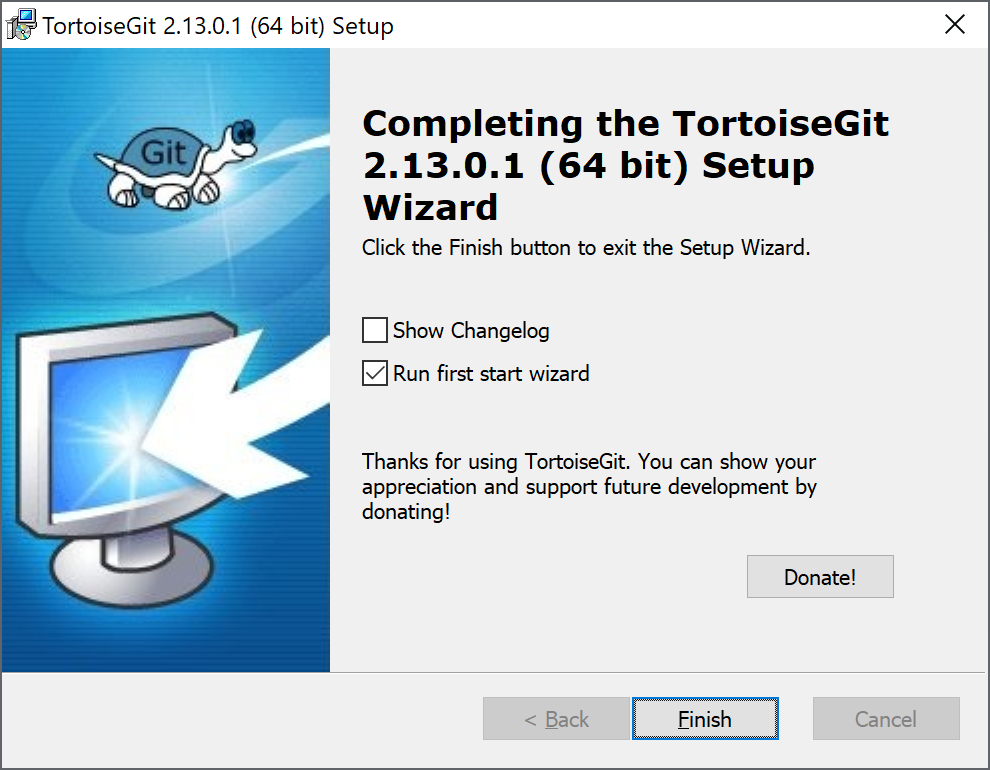
Click Finish to start the second half of the installation.
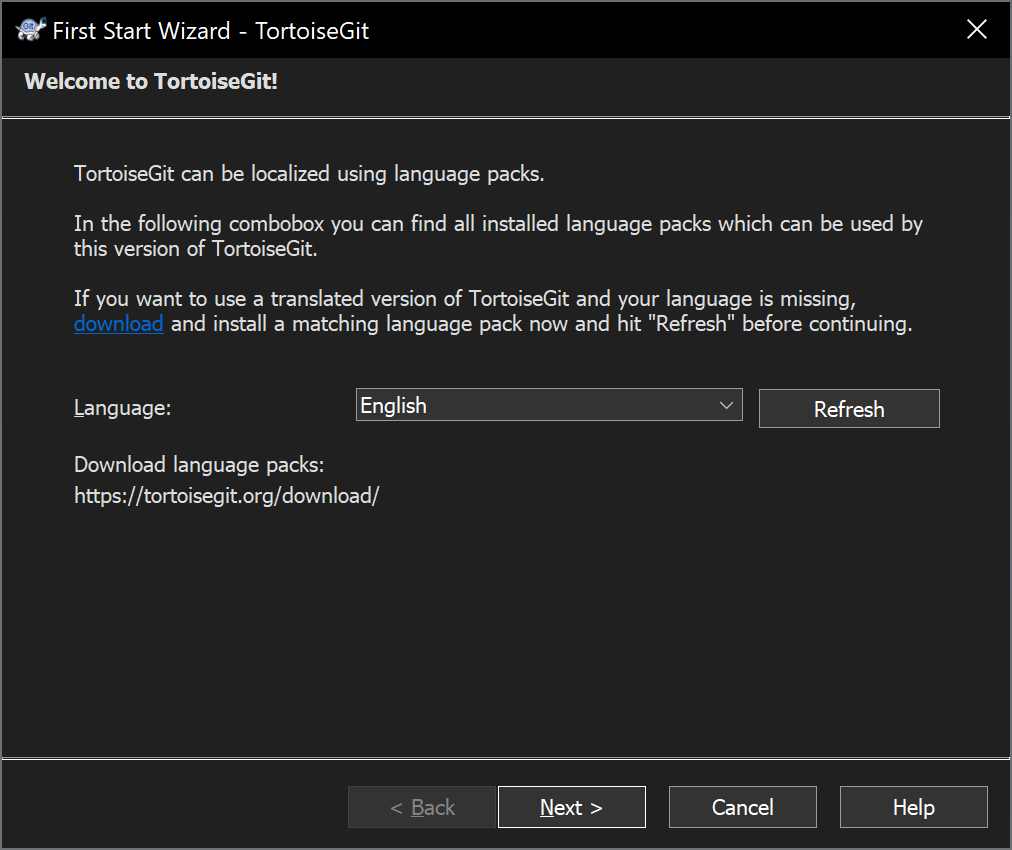
Select your language and click Next.
Click Next after some light reading.
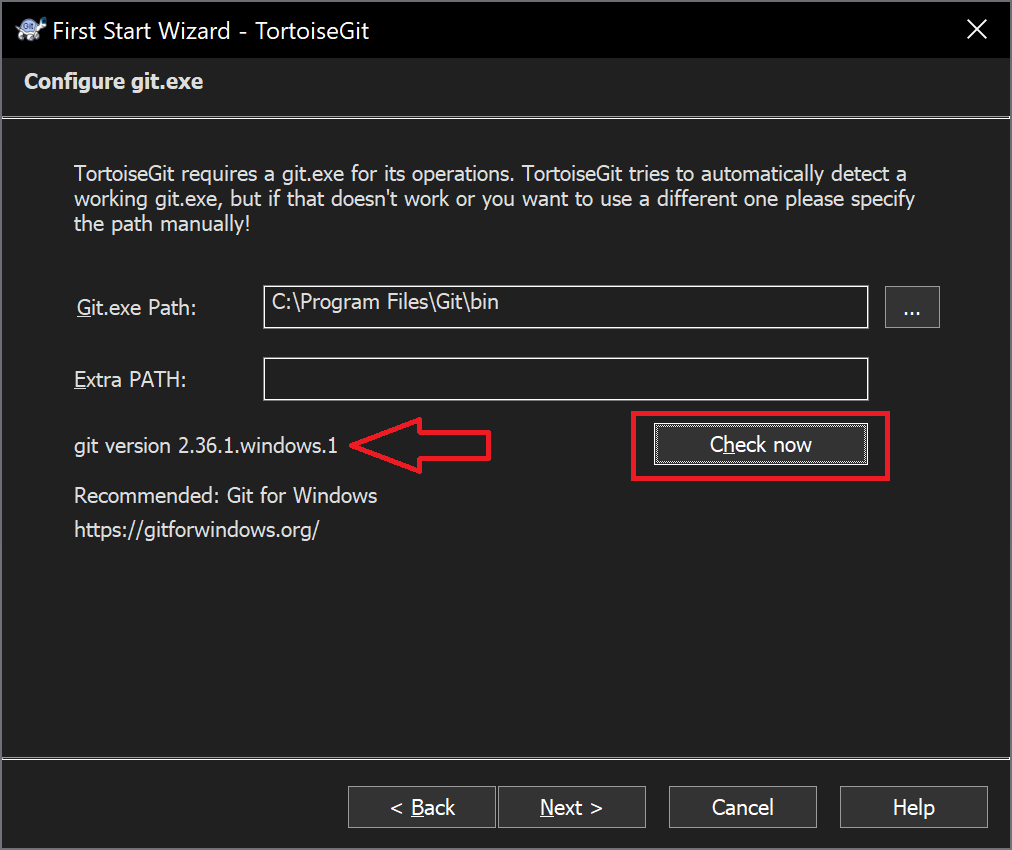
Enter the path to your git.exe if it isn’t already prefilled.
You can click the “Check now” button to see if you have a valid version of git.
In our example we have confirmed we are using git version 2.36.1.windows.1. Your mileage may vary.
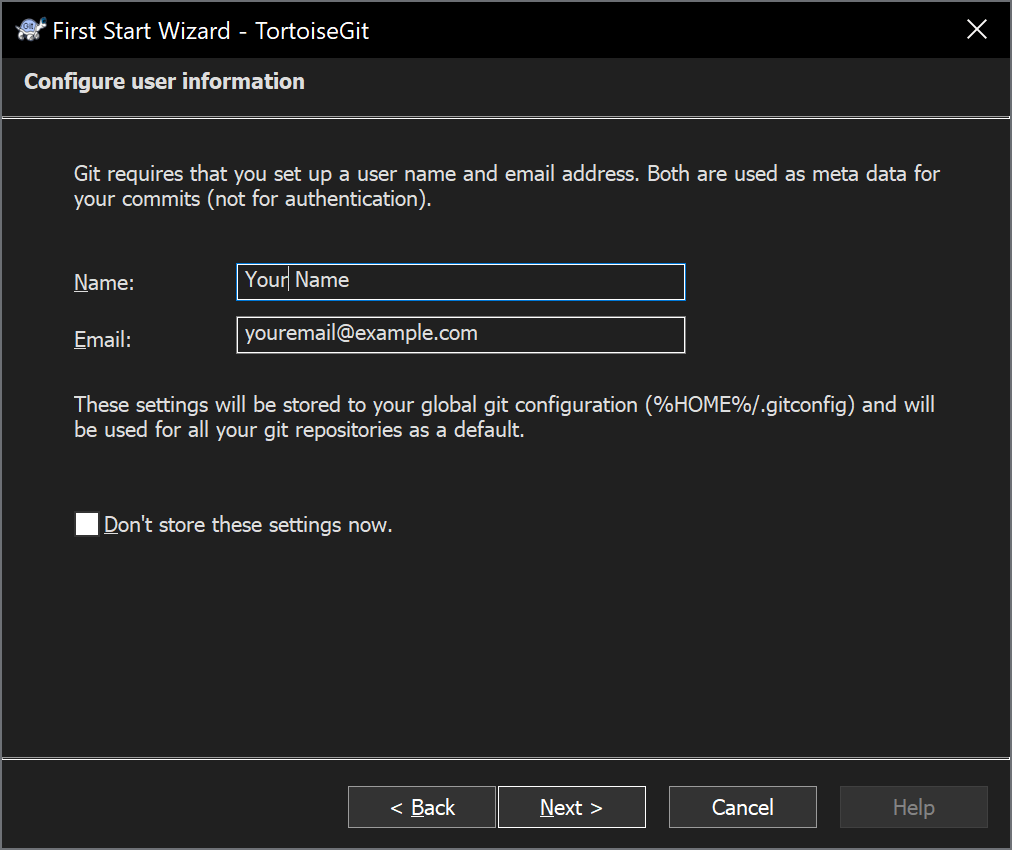
Enter your name and your email address used to sign into hub.allspice.io and then click Next.
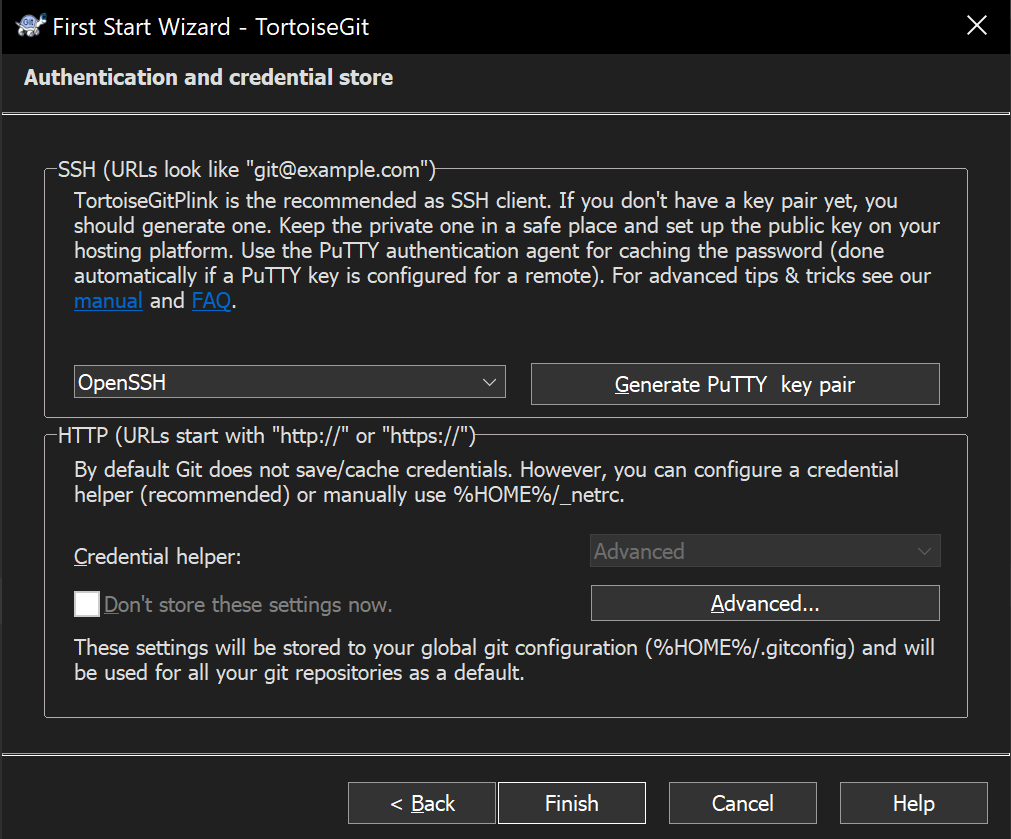
You can either use OpenSSH or TortoiseGitPlink for SSH. We recommend using OpenSSH, but we have instructions for both below.
You can also use HTTPs authentication with the instructions below.
Click Finish after selecting your SSH method.
Testing TortoiseGit Install on a Public Repo
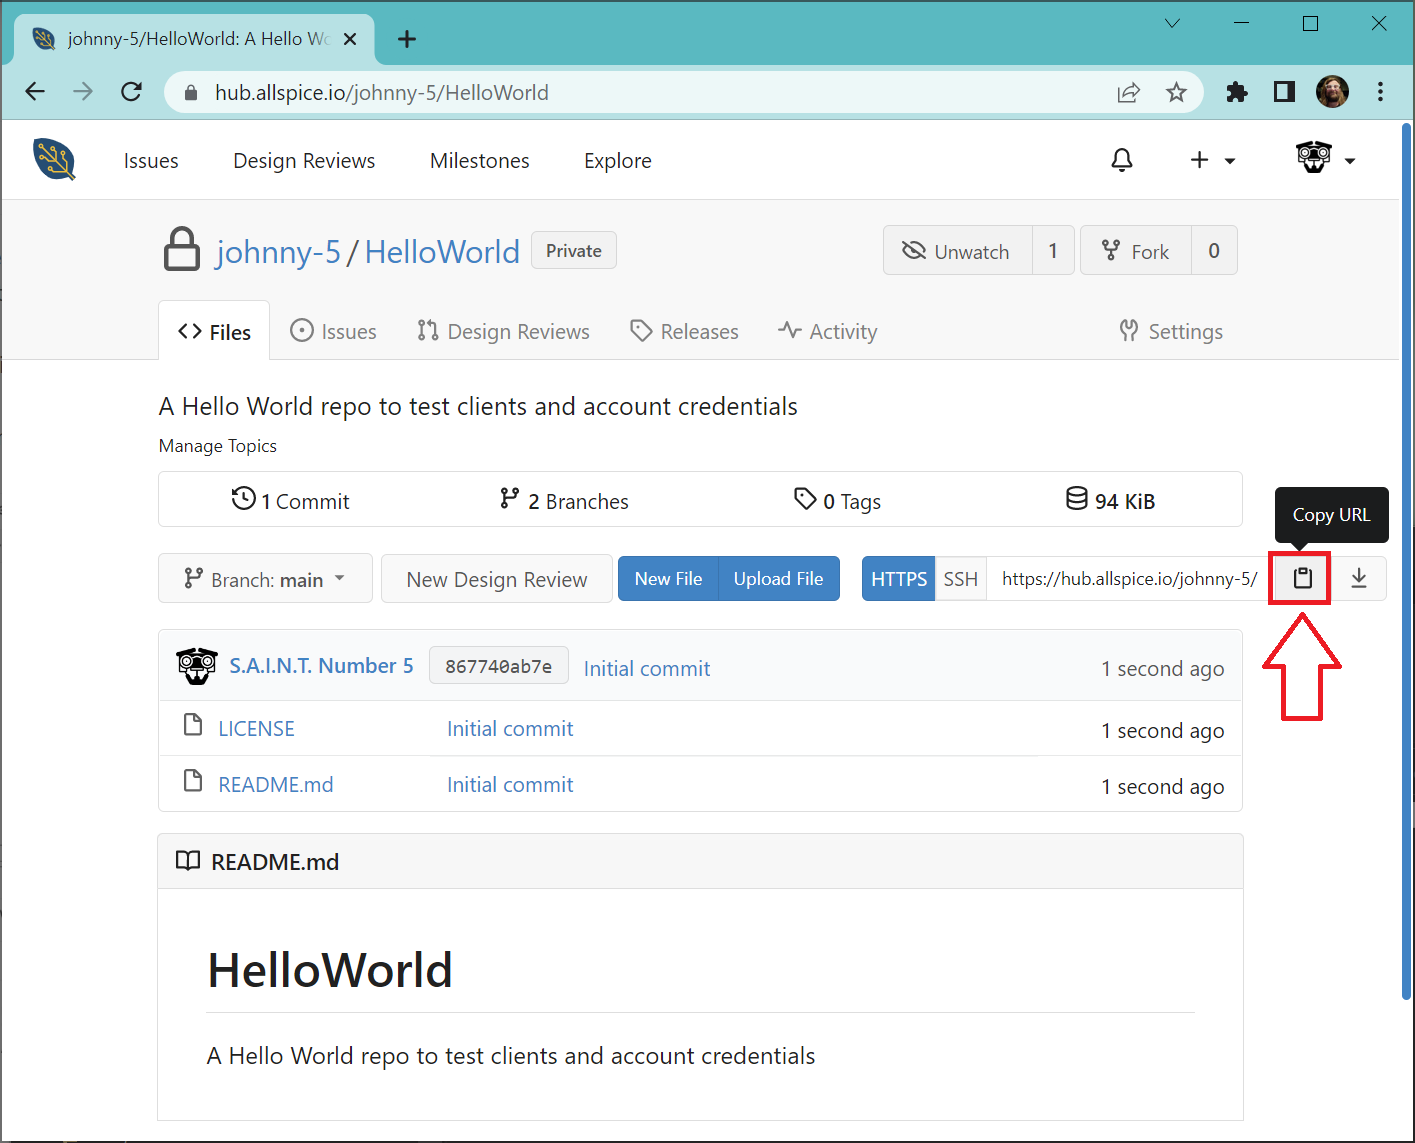
You can verify that TortoiseGit is installed correctly by trying to clone a public repo. We’ve created a public HelloWorld repo for you to test.
Copy the repo URL
Copy the URL for the repo that you wish to clone. Every repo has a Copy URL button that copies the https address to the repo.
For this example, you can use the Hello World Repo URL “https://hub.allspice.io/johnny-5/HelloWorld.git”.
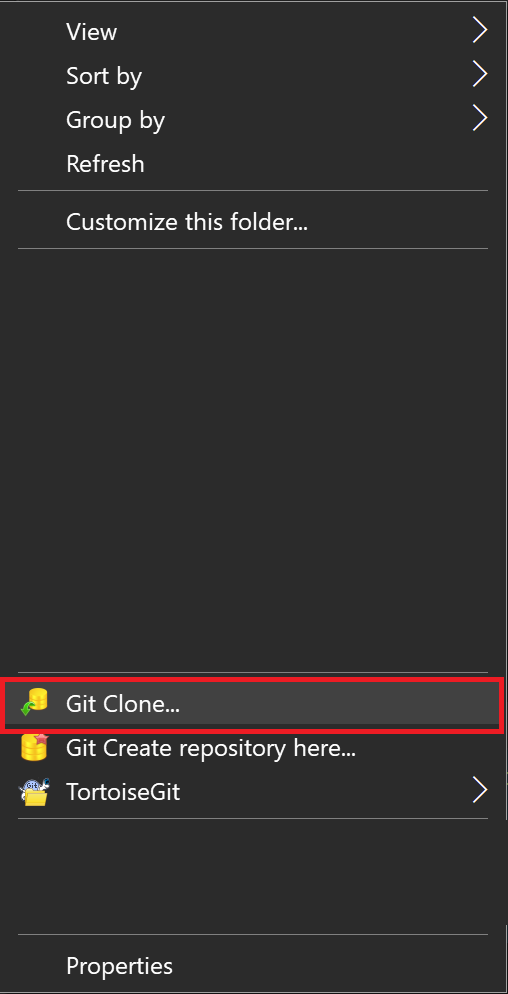
Run the Git Clone command
Open a file explorer to the location where you want to download your test repo.
Right click and select “Git Clone…”.

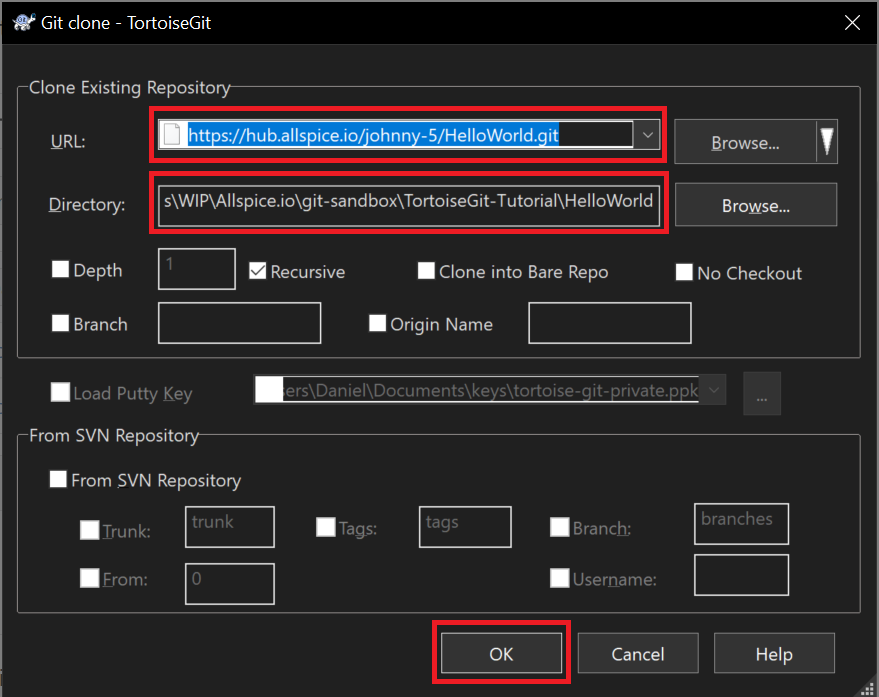
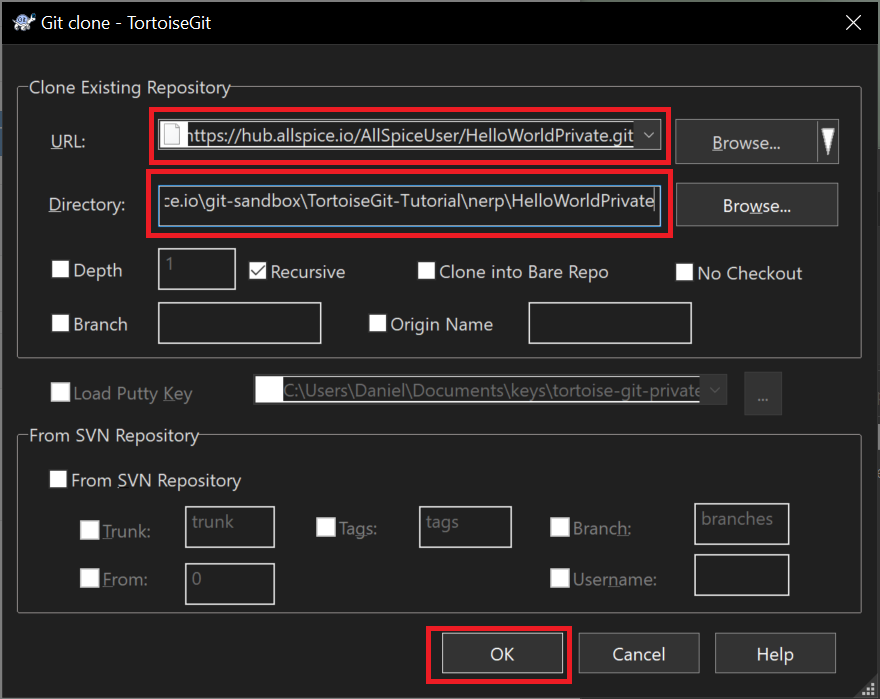
Git Clone Dialog
Paste the URL into to the URL field.
Click on the Directory field or browse button to ensure the folder is in the desired location. The directory doesn’t always update from the previous time you used the clone dialog, so always double check the directory.
Click OK.
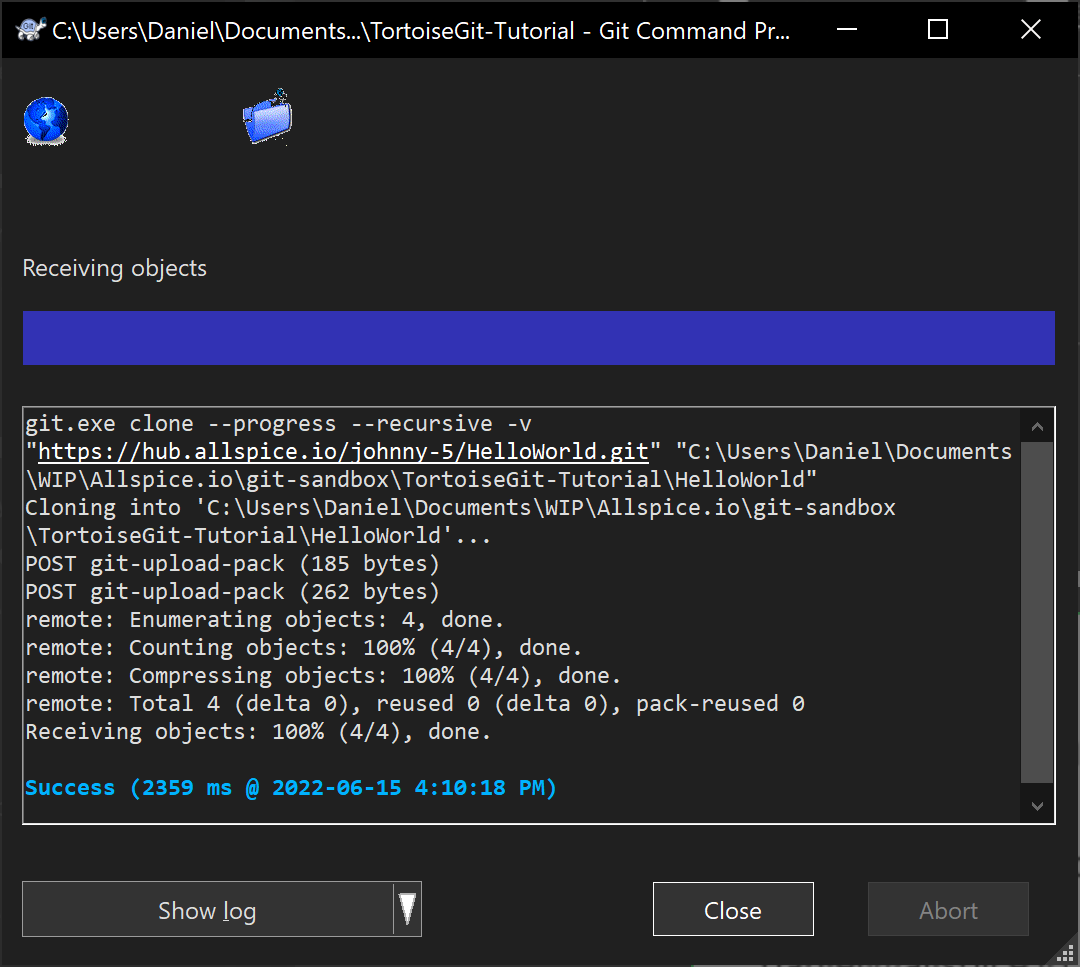
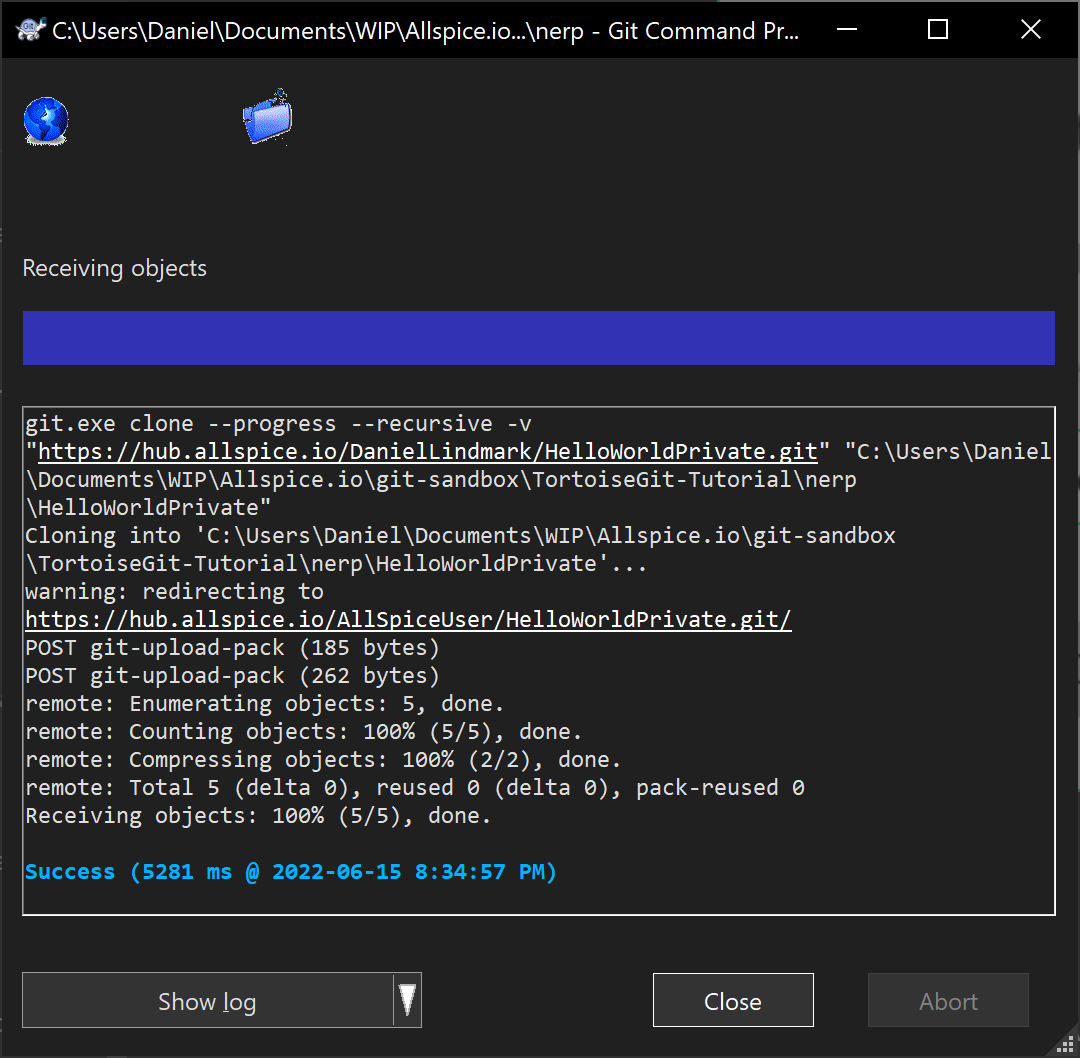
You should see results similar to this:
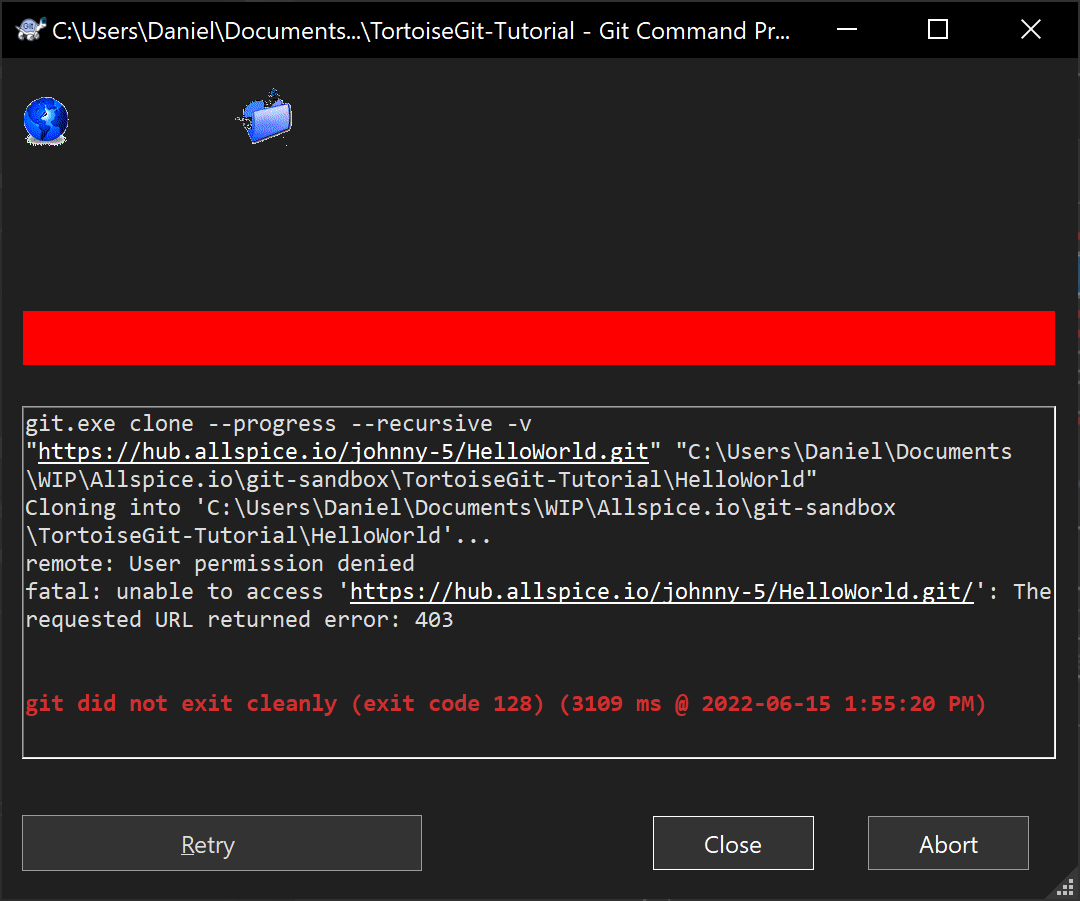
If you don’t have your user credentials set up correctly, you will see something like this:
Your repo will now be cloned in the local filesystem.

Setting up Https access in TortoiseGit
Https access is the easiest to set up, but you will have to enter your password for each operation such as clone, commit, or push.
Open a file explorer window. Right click and select TortoiseGit→Settings.
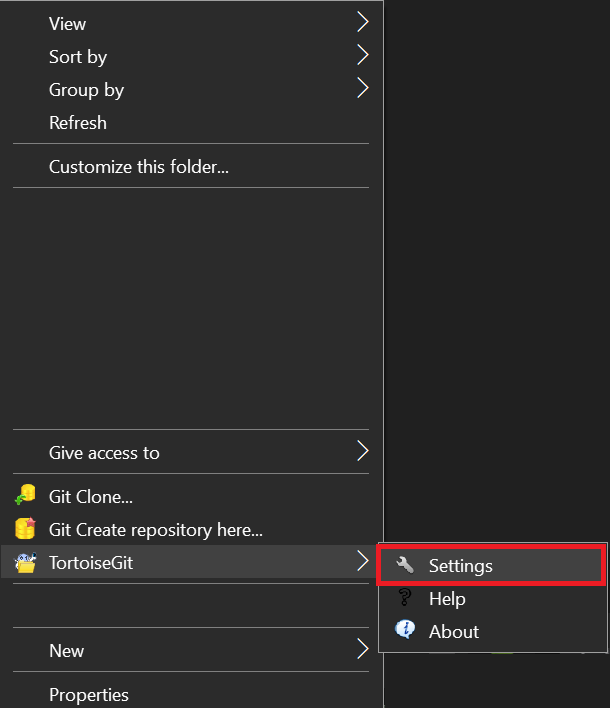
Select Git
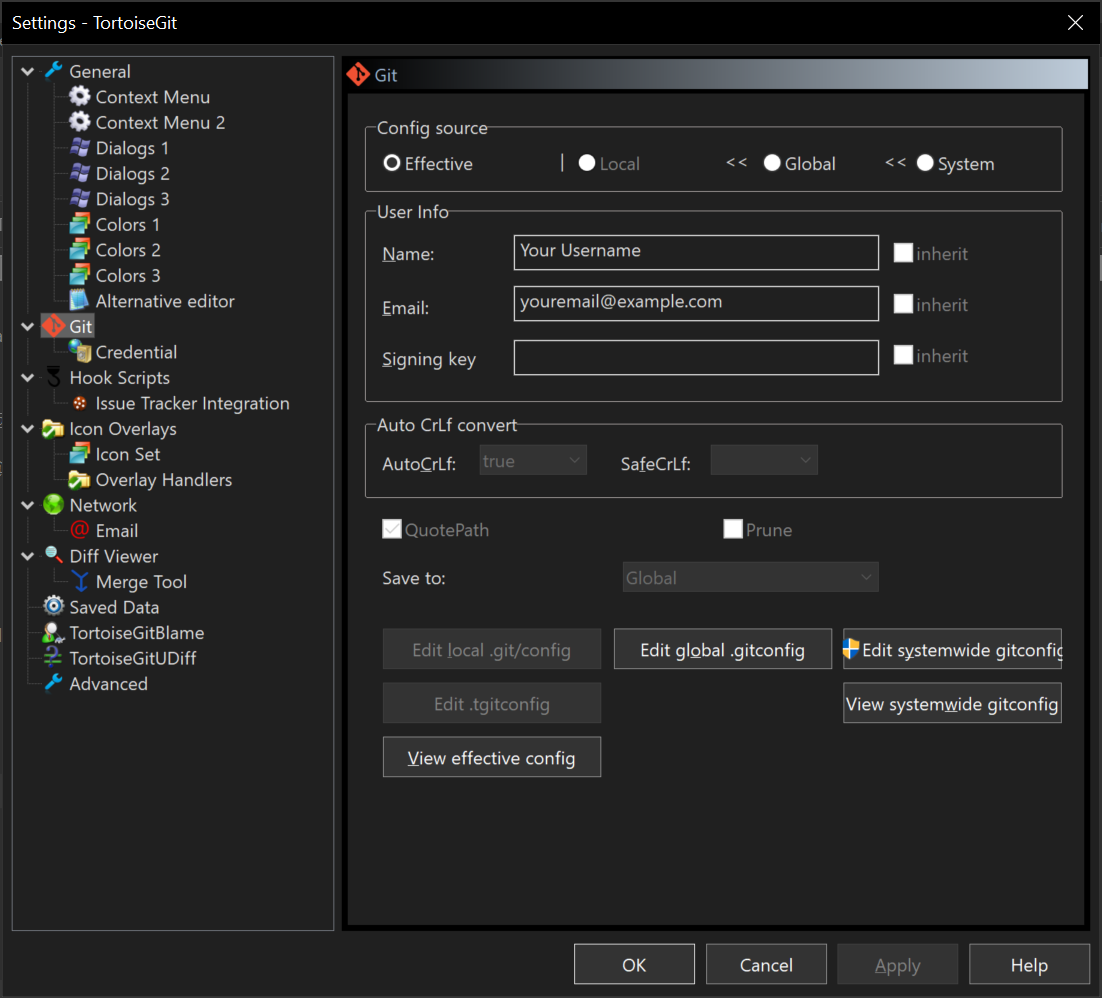
Verify that your User Info name and email are correct.
If you need to change them, click on the Global radio button, change the values and then click Apply. If not, you’re ready for the next step.
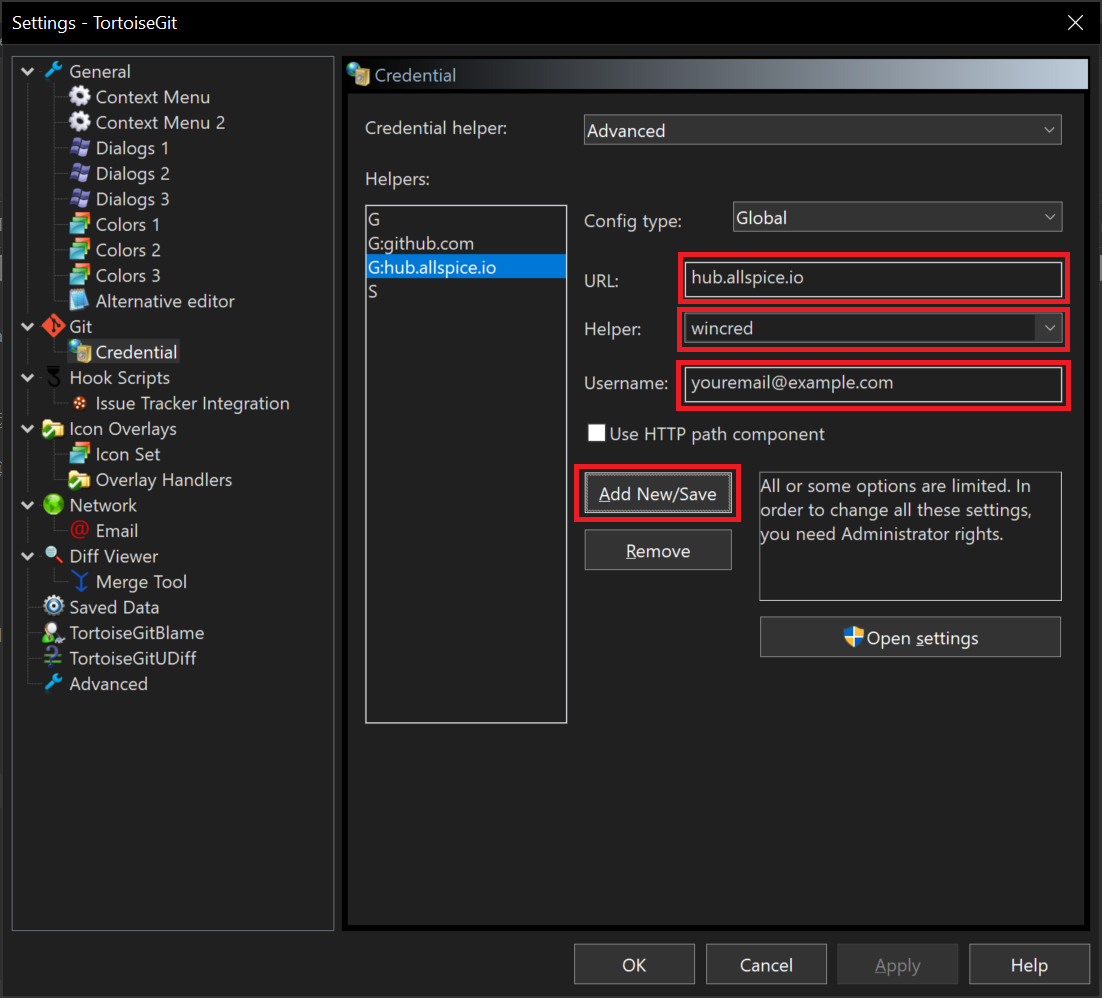
Click on Git→Credential
Type hub.allspice.io into the URL field.
Change the Helper pulldown to wincred.
Change the username to the email that you use to sign into hub.allspice.io.
Click on “Add New/Save”. You should see a new Helper “G:hub.allspice.io”.
Click OK to close the dialog.
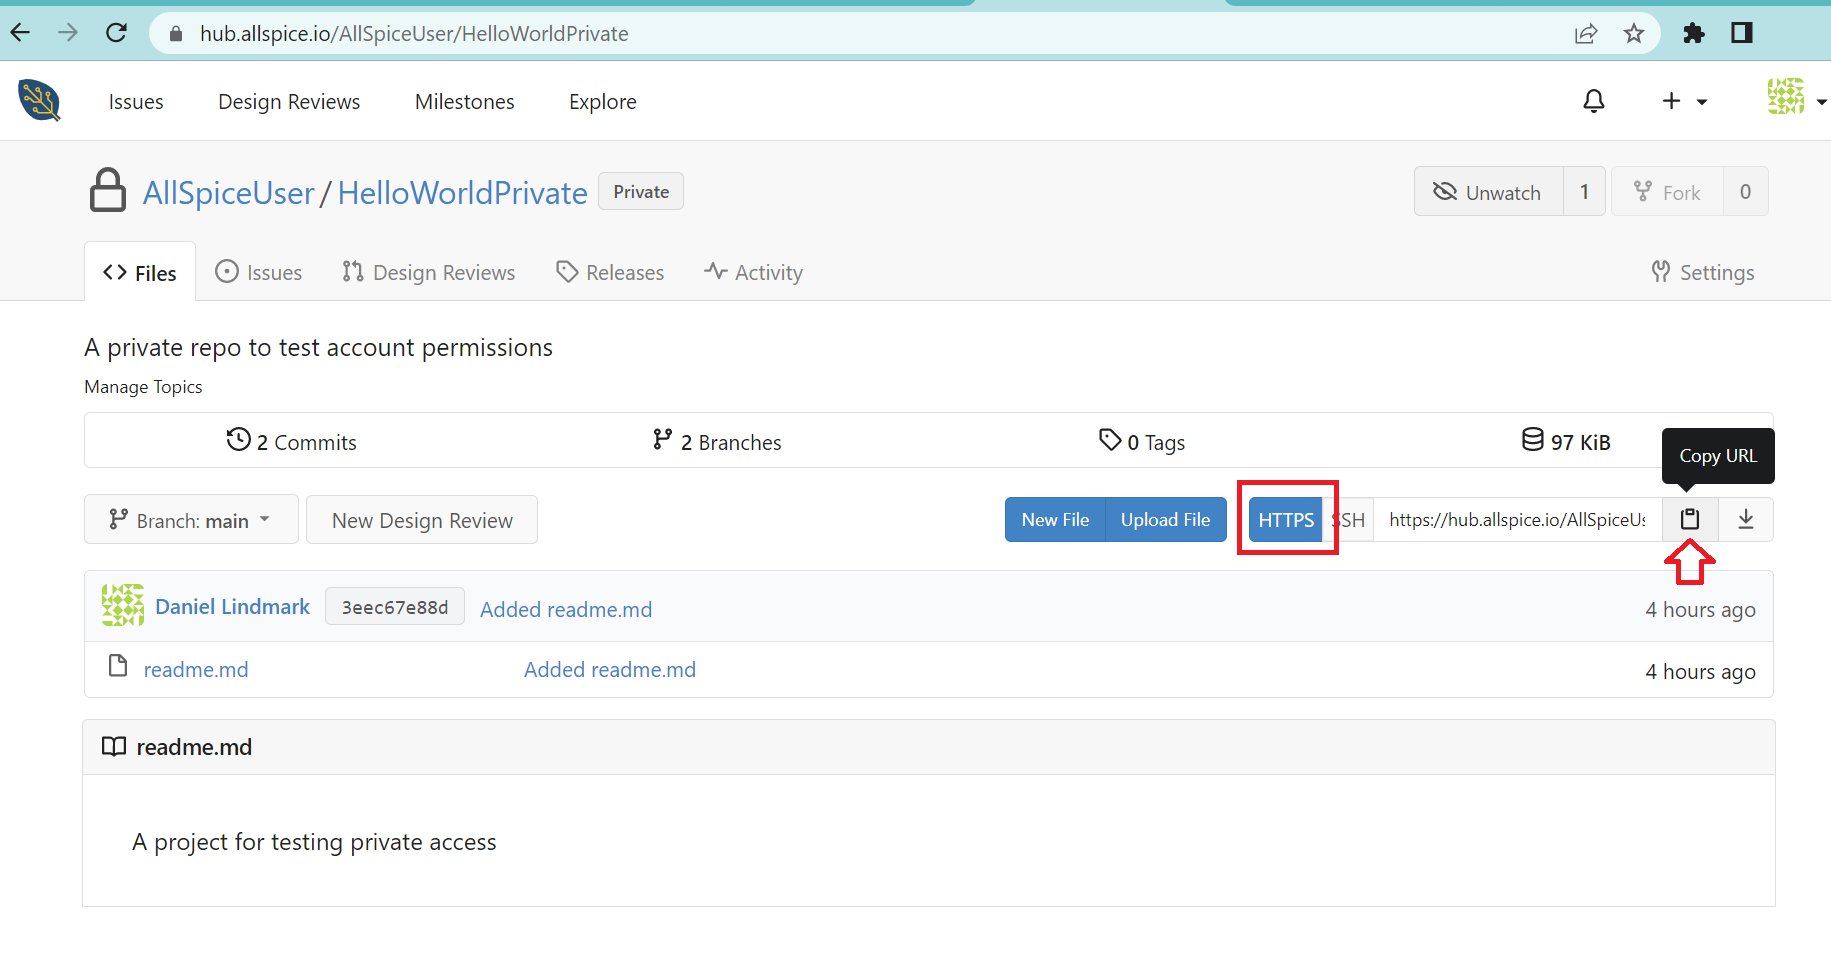
Test https authentication
Copy the https link to a private repo.
If you don’t have any repos, you can follow this tutorial to create a new repo.
Clone the private repo
Open a file explorer to the location where you want to download your test repo.
Right click and select “Git Clone…”.
Paste your private repo into the URL, making sure it is an https link.
Make sure the Directory is the location where you want the repo cloned.
Click OK.
You may be asked to enter your allspice credentials. Your dialog might look different depending on your Operating System.

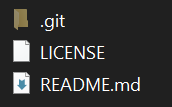
Your setup is correct if you get a success message and the files are downloaded.
Congratulations
You have installed a git client and have basic read/write access to the repos via Https. Future tutorials will explain how to authenticate via SSH.
Was this article helpful?